Date Published:
August 22, 2025
The internet runs like an open highway your data will be seen if it is not secure. In the digital age, cyber criminals, advertisers, and government entities barely hide to collect personal data, everything from browsing history to IP addresses and geolocation. This information can be used for identity theft, cyberbullying, or mass surveillance if not protected. Specifically, public Wi-Fi is a lot riskier as it has no encryption, but hackers (packet sniffing, man-in-the-middle attacks, or just rogue hotspots) will be able to capture data because they have access to some sensitive traffic. Without security, (your) online privacy and personal information are always left exposed.
A virtual private network (VPN) is the most basic form of security. VPN Secures Your Internet Connection, Protects Your PII (personal information) and IP Address, and Keeps You on a Block. For individuals or small businesses looking to increase privacy or organizations needing a private network with employee access, self-hosting a VPN is your best bet, giving you complete control of your online security.
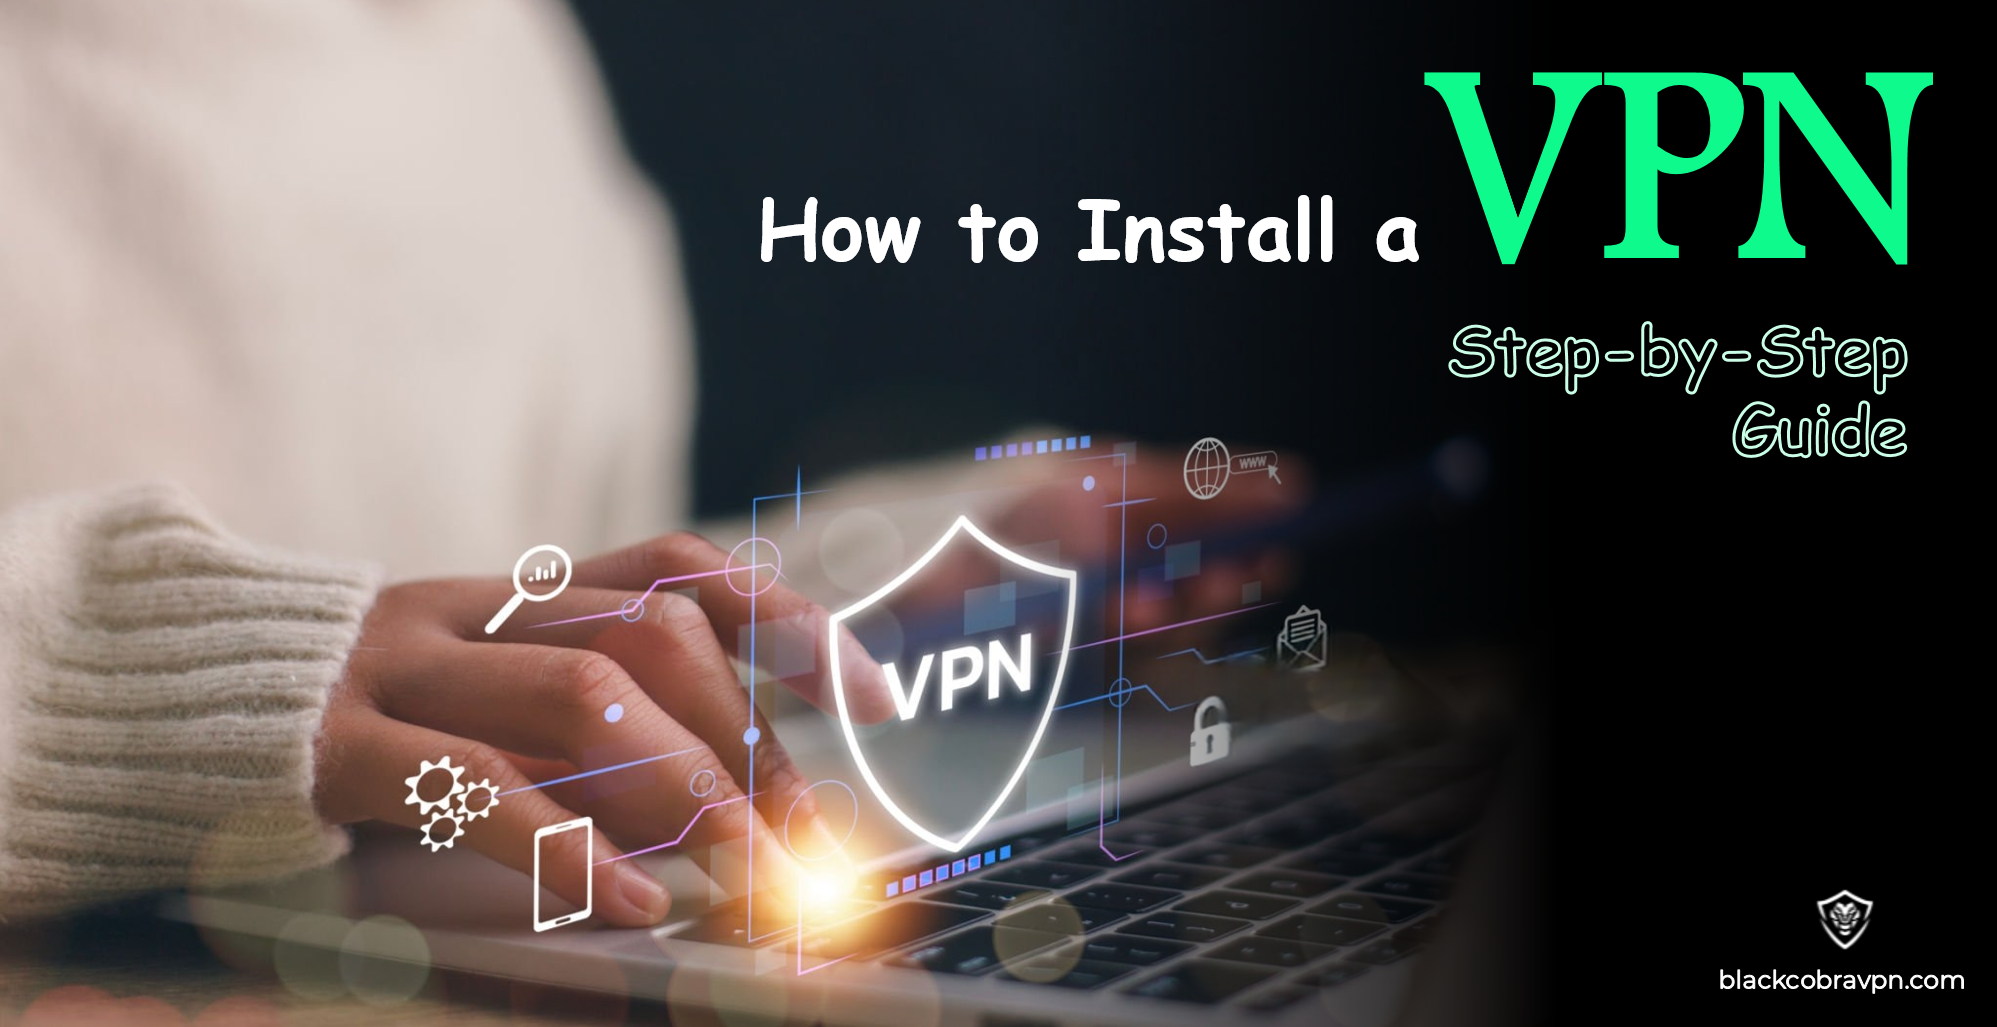
Following these step-by-step instructions, you will fully install and configure a VPN server on everything from Windows, Linux, and macOS to numerous cloud-based environments.
Using a self-hosted VPN server has several advantages over third-party VPN services:
Almost all third-party VPN providers will state that they do not log user data, although some still log and/or share logs with 3rd parties (e.g., advertisers or governments). A Self-Host VPN is Data Ownership, with the VPN being self-hosted. You decide what logging is going on with the tools you specify and the encryption method. You choose security settings, too, as no one can see what you do on the internet anymore. It is essential in countries with stringent internet regulation or when the state heavily monitors you since the commercial VPNs would just put potential exposure data to be scrutinized. With your VPN server on the inside, you have access logs, connection, and participation to the internet.
With a VPN of your own, you are weeding yourself free of any third-party infrastructure with potential security disingenuous or open to government interference. A self-hosted VPN gives you:
With this level of customization, you can fit your VPN according to your security requirements. The application should be adequately secured from hackers, data leaks, and government surveillance.
Many public VPN services are congested since people connect at once. VPNs slow down the actual transfer by bandwidth management to cap speeds during times or restrict streaming applications. Self-hosting a VPN solves every problem mentioned below:
This is especially good for gaming, streaming, or VoIP communication, where low latency and fast connections are critical.
Setting up a VPN server in another country will let you watch content filtered in your area. Well, one of my favorites is:
For digital nomads, expatriates, and frequent travelers, having a personal VPN server ensures uninterrupted access to content and services, regardless of geographical barriers.
Most businesses spend on high-priced VPN subscriptions to secure resources with the fish remote workers' access. A handy self-hosted VPN option is covered here:
Now, let’s explore how to install a VPN server on different platforms.
Windows has a built-in feature that allows you to create a VPN server using Routing and Remote Access (RRAS). This is ideal for small offices or personal use.
Step 1: Enable the VPN Server
Step 2: Configure Your Router for VPN Access
Step 3: Connect to Your Windows VPN
Your Windows VPN is now ready!
If you’re comfortable with command-line interfaces, Linux-based OpenVPN VPNs offer robust security and customization.
Step 1: Install OpenVPN and Easy-RSA
Open the terminal and update the system:
bash
CopyEdit
sudo apt update && sudo apt install openvpn easy-rsa -y
Open the terminal and update the system:
bash
CopyEdit
mkdir ~/easy-rsa && cd ~/easy-rsa
Step 2: Generate Security Certificates
Initialize the Public Key Infrastructure (PKI):
bash
CopyEdit
./easyrsa init-pki
Build a Certificate Authority (CA):
bash
CopyEdit
./easyrsa build-ca nopass
Generate a server certificate:
bash
CopyEdit
./easyrsa build-server-full server nopass
./easyrsa gen-dh
Step 3: Configure OpenVPN
Copy the security keys to OpenVPN’s directory:
bash
CopyEdit
cp pki/ca.crt pki/issued/server.crt pki/private/server.key /etc/openvpn/server/
Enable IP forwarding to allow traffic through the VPN:
bash
CopyEdit
echo "net.ipv4.ip_forward=1" | sudo tee -a /etc/sysctl.conf
sudo sysctl -p
Step 4: Start the VPN Server
bash
CopyEdit
sudo systemctl start openvpn@server
Your Linux VPN is now active! Use an OpenVPN client to connect.
Mac users can set up a VPN using Tunnelblick, a free OpenVPN client.
Step 1: Install Tunnelblick
Download Tunnelblick’s official website
Install and open the app.
Step 2: Configure OpenVPN
Obtain your .ovpn configuration file.
Import it into Tunnelblick and connect.
Your Mac VPN is now up and running!
A cloud-based VPN allows you to access your private network from anywhere securely. It’s ideal for businesses, remote workers, and digital nomads.
Step 1: Deploy a Virtual Private Server (VPS)
Choose a cloud provider (AWS, Linode, DigitalOcean, etc.).
Deploy an Ubuntu 20.04 VPS instance.
Step 2: Install OpenVPN on the Cloud VPS
1. Connect to the server via SSH:
bash
CopyEdit
ssh user@your-vps-ip
2. Download and run the OpenVPN installation script:
bash
CopyEdit
wget https://git.io/vpn -O openvpn-install.sh
chmod +x openvpn-install.sh
sudo ./openvpn-install.sh
Step 3: Connect to Your Cloud VPN
1. Download your. ovpn configuration file.
2. Import it into any OpenVPN client.
Now, you have a secure cloud-based VPN!
WireGuard VPN: The Fastest VPN Protocol
SoftEther VPN: The Most Versatile VPN Solution
Setting up a VPN will often mean the Flap. Below are the common issues and how to fix them:
VPN does not connect
VPN Too Slow
VPN IP not getting assigned
After you have configured the VPN, it has to be secured. Best Practices are here:
Now, more than ever, it is time for you to start tightening how you secure your online. Your VPN server is set up; you have a server and privacy + data security from hacking by encryption to free internet. Whether self-hosted on Windows/ Linux/Mac or the Cloud, a VPN gives you your speeds, improves encryption, and gives you complete control over the network as an end-user. For VPN protection, patch regularly and use regular strong authentication in Proactive Monitoring.
Don't wait - set up your VPN today and safeguard your digital footprint from prying eyes. Your privacy is in your hands!
BLACK COBRA VPN
© 2025 Black Cobra VPN. All rights reserved.